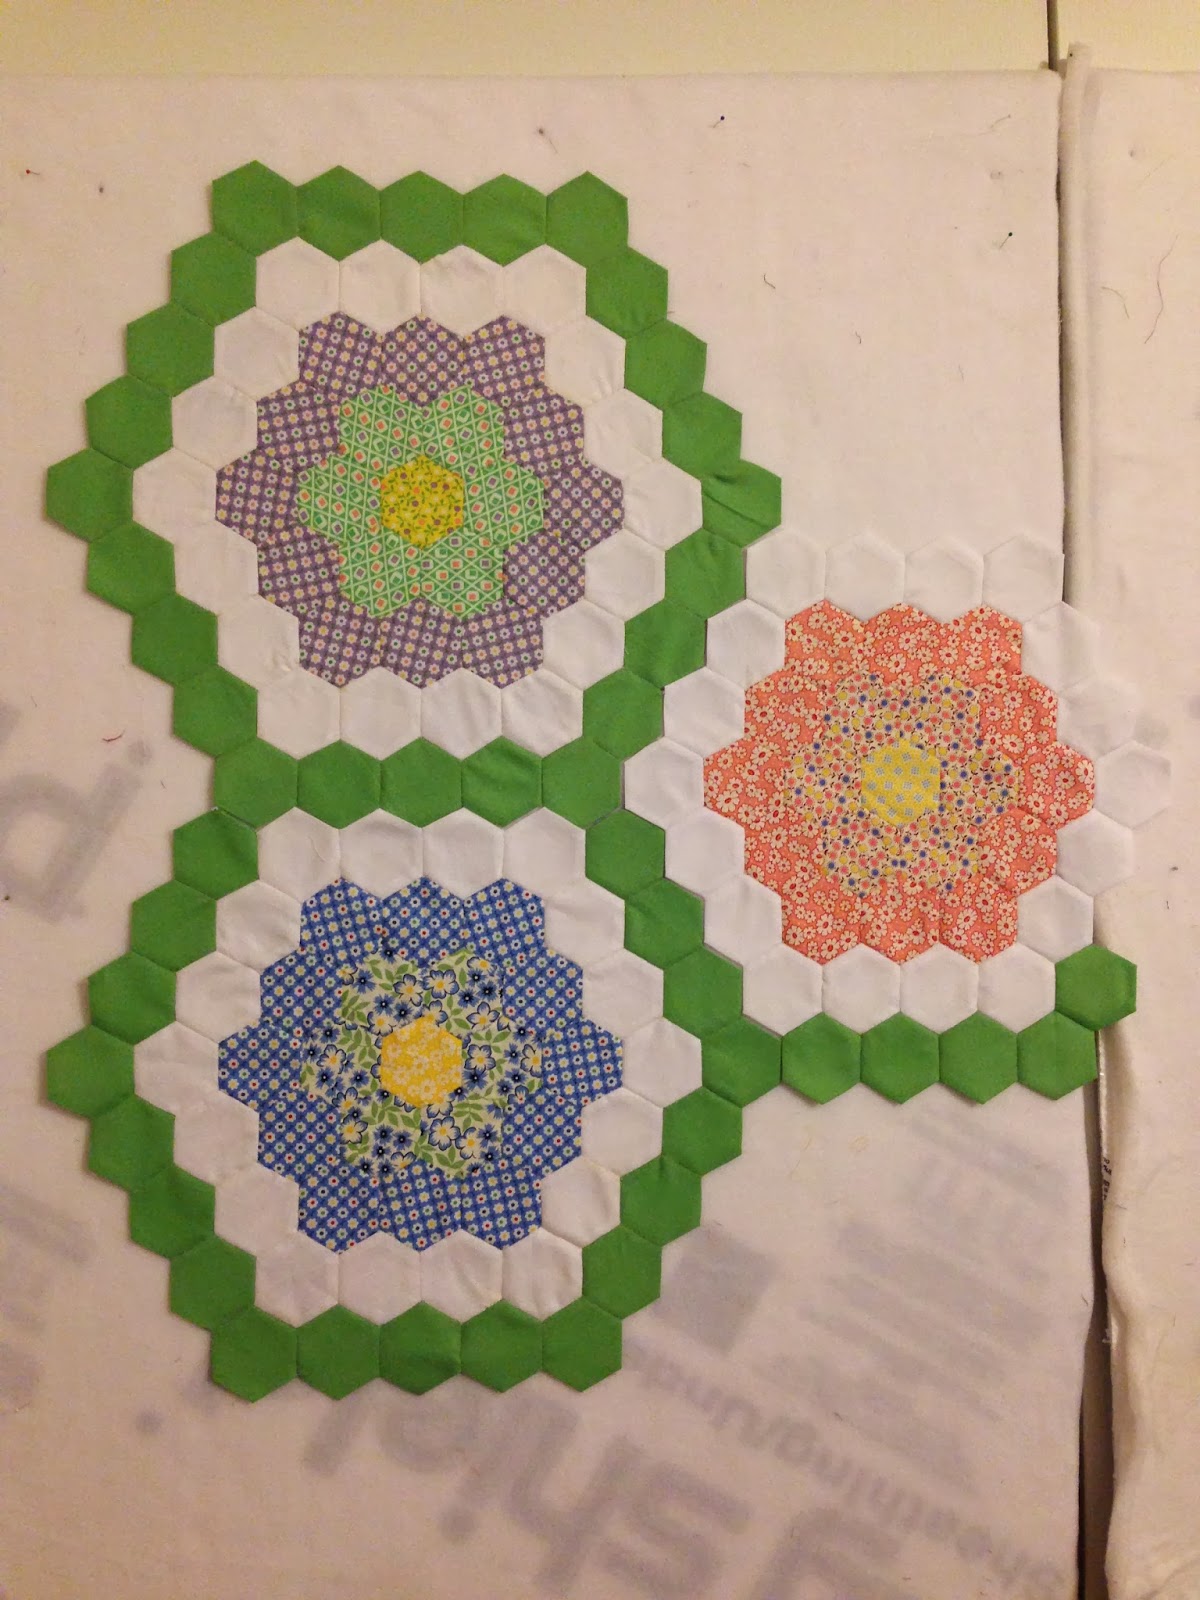
I started thinking that I wasn't getting very far by making a few hexagons and then sewing them together. I figured that I would feel that I was making better progress if made several hundred hexagons before sewing them together. With that said I have been working hard making the hexagons.
I know that this doesn't look like much but there are 57 print hexagons, 53 white hexagons, and 44 green hexagons. I think I need to make a lot more before I start putting them together. This is going to be a slow moving project.
Showing posts with label English Paper Piecing. Show all posts
Wednesday, January 22, 2014
Tuesday, November 12, 2013
Thursday, November 7, 2013
Week Two: "Grandmother's Flower Garden" quilt
I do apologize for the lack of post lately. It is due to a lack of knowledge of computers and technical difficulties.
This is my week two progress on my "Grandmother's Flower Garden" quilt.
Wednesday, October 23, 2013
Grandmother's Flower Garden
After spending many hours on the internet, I came up with a pattern to make my "Grandmother's Flower Garden" quilt. I really liked both the green background and the white background so I decided to incorporate both into my design.
So, I decided to make a double flower with white hexagons around the flower and then a row of green around the flowers. I also decided to make all the centers in yellow.
Now that I had my design in my head I went to the internet to download some hexagon graph paper. I went to the bottom of the page and used the 5ish to the inch black link, and printed the paper.
Now it is time to start my "Grandmother's Flower Garden" quilt.
I am going to try to post my progress each week on the blog. So look for updates every Tuesday!
So, I decided to make a double flower with white hexagons around the flower and then a row of green around the flowers. I also decided to make all the centers in yellow.
Now that I had my design in my head I went to the internet to download some hexagon graph paper. I went to the bottom of the page and used the 5ish to the inch black link, and printed the paper.
Using colored pencils I mapped out my design. This may change, but it is a start.
Now it is time to start my "Grandmother's Flower Garden" quilt.
I am going to try to post my progress each week on the blog. So look for updates every Tuesday!
Week one progress!
Tuesday, October 15, 2013
Hexagons
When Martelli had templates on their Redline Direct, I bought a set of hexagons. At the time I bought then I had no idea what I was going to do with them. Then I saw a "Grandmother's Flower Garden" quilt on line and knew that I had to make it.
I decided to start by making a pin cushion that I found in McCall's Quilting Magazine (Nov./Dec. 2013) to get me started with hexagons.
I used Martelli hexagons to cut both the paper and the fabric.
I used the 2 inch fussy cut template to make my paper pattern. After I make one sheet, I then copied the paper several times and then cut out all the hexagons.
I first cut a 2 1/2 by 3 inch pieces of fabric, then using the template, I cut the hexagon shapes.
Next I pinned the paper shapes to the fabric.
I have stitched the edges down and now I am ready to whip stitch the hexagons together. I stitched mine down differently than in any of the other videos. I tack down ONLY the corners (with a stitch and then a back stitch) making sure that I do NOT go through the paper. This helps preserve the paper so that it can be used over many times.
Next I pressed them and right after I press them and before I sew them together, I take out the papers (which can be used again). This is different than any of the youtube videos that I watched. I just don't see the need for the paper when sewing them together.
I sewed all the sides together except one. I stuffed it with crushed walnut shells, that I got at the pet store, before whip stitching the last side of the last hexagon. My finished pin cushion!
Subscribe to:
Posts (Atom)